


You know those days where you feel too blessed to be stressed? We think you should have that feeling whenever you want it, which is why we’re showing you how to make a T-shirt that shows just how thankful, grateful, and blessed you really are. This is a short and sweet project you can complete in no time. Then, you can wear your DIY shirt proudly!
What You’ll Need
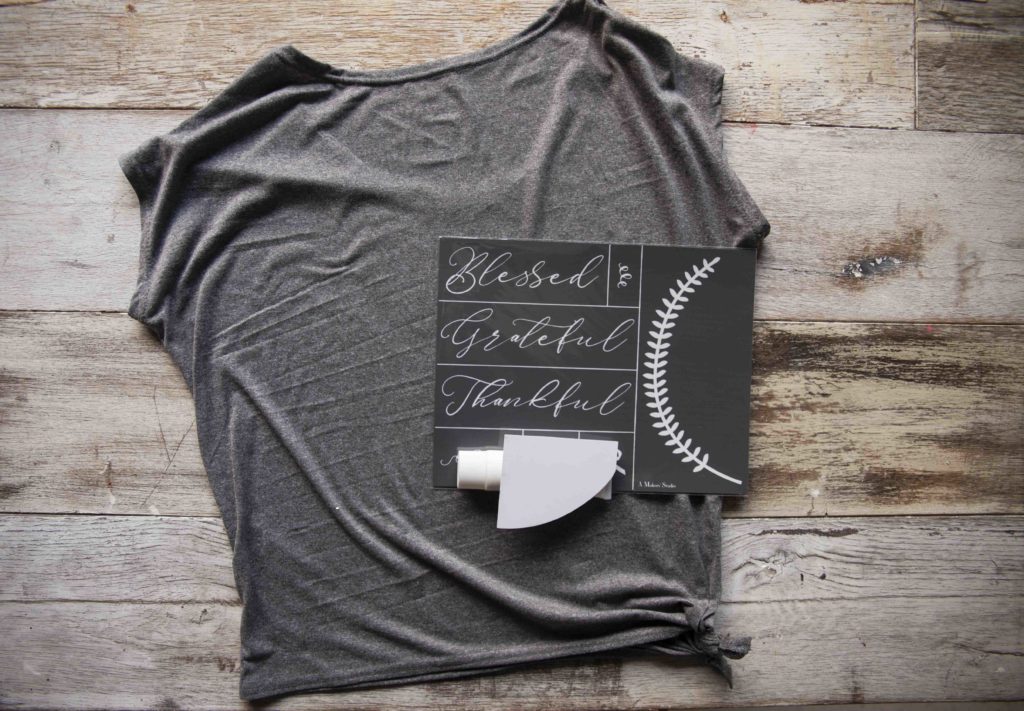
- Dark-colored T-shirt
- Well I Declare Gel Art Ink
- Blessed, Grateful, Thankful Stencil
- Spreader
- Cardboard or paper
- Iron
Make Your Thankful, Grateful, Blessed T-Shirt in 6 Steps
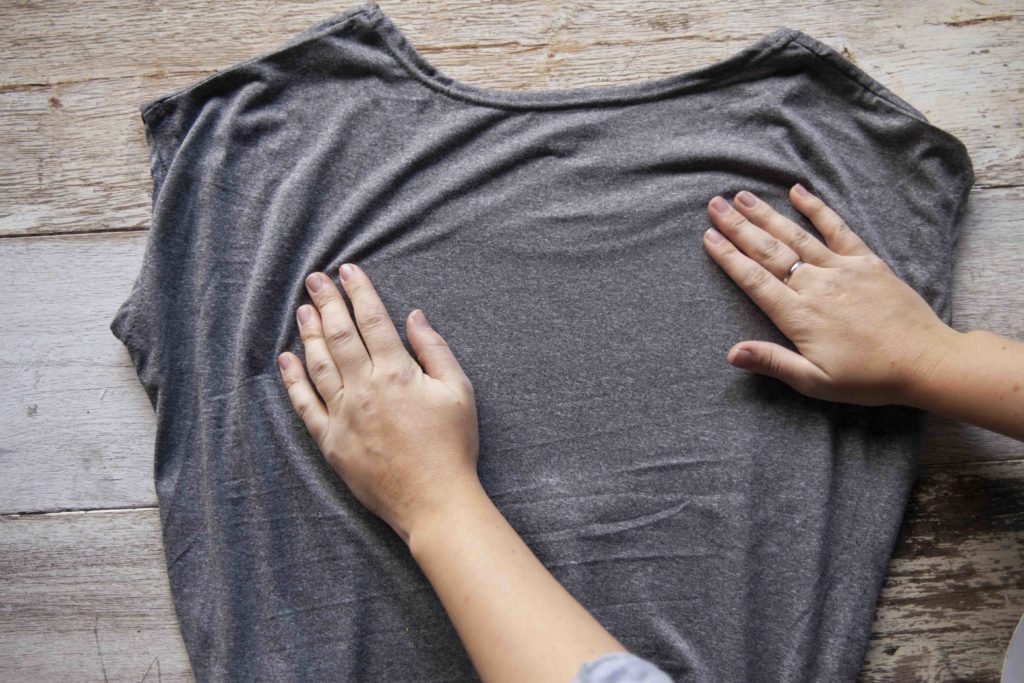
- Place cardboard between the layers of your shirt to protect the other side from your Gel Art Ink.
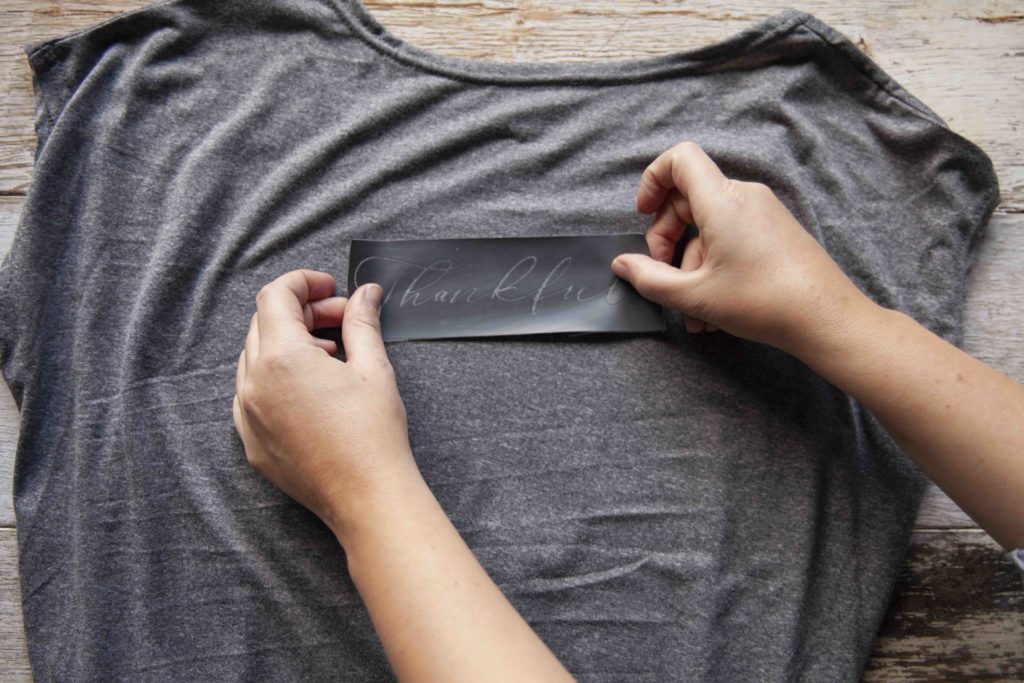
2. Place the “Grateful” part of the Blessed, Grateful, Thankful stencil on the front of your T-shirt. To speed up the crafting process, cut your stencil apart so that you do not have to wait for the entire stencil to dry between applications.
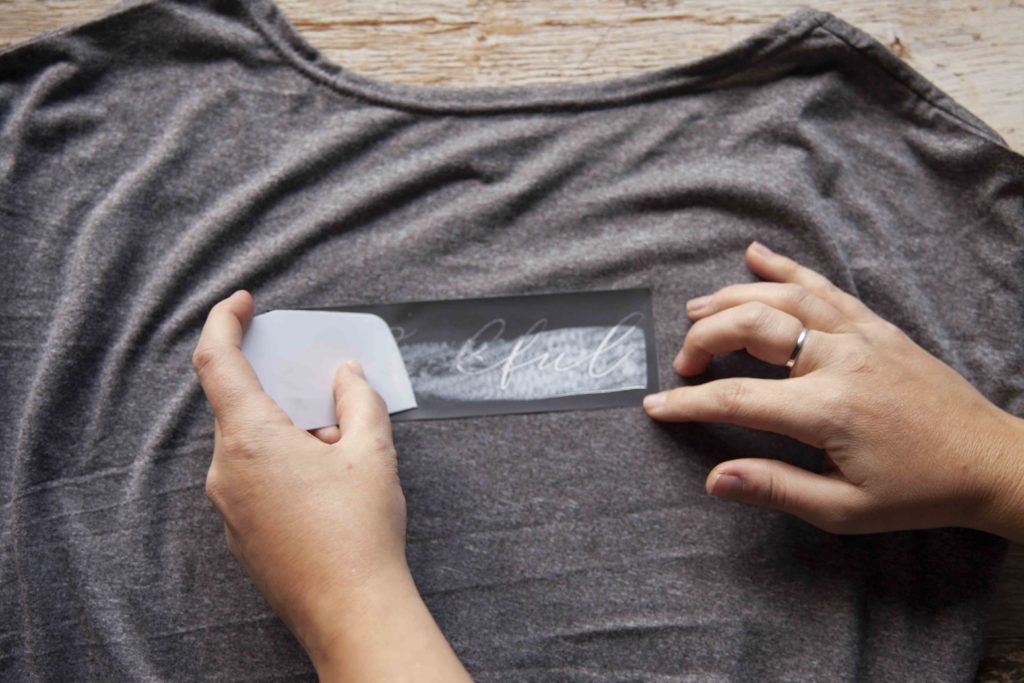
3. Squeeze out a small portion of Well I Declare Gel Art Ink onto a piece of cardboard or paper. Using your spreader, apply the Gel Art Ink to your stencil, scraping the gel across the design for even coverage.
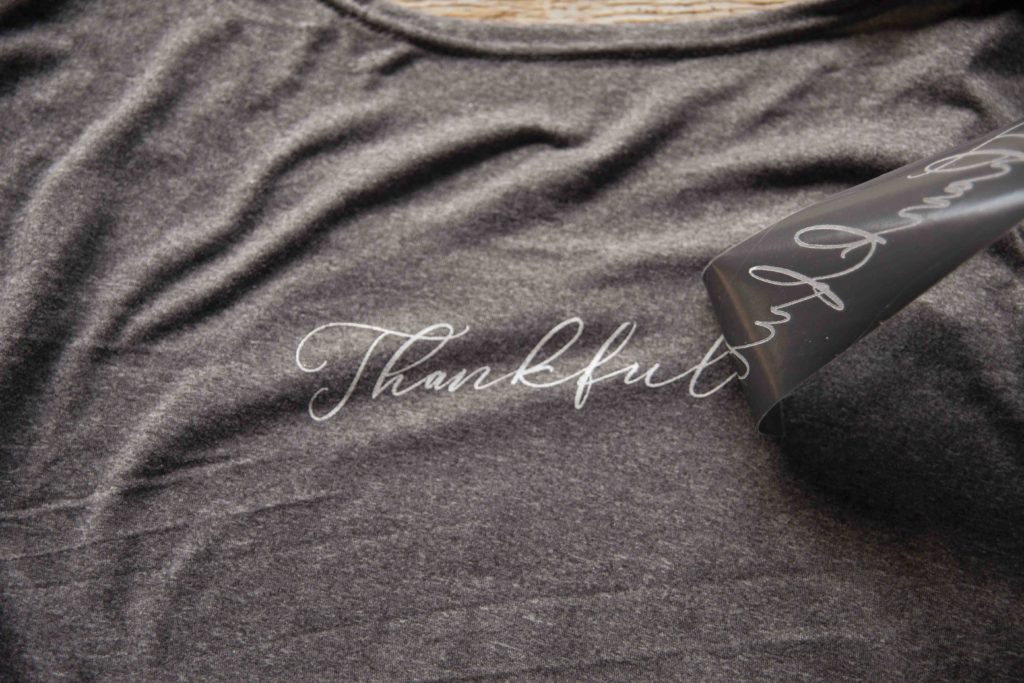
4. Once complete, remove the stencil, wash it, and lay it flat to dry.
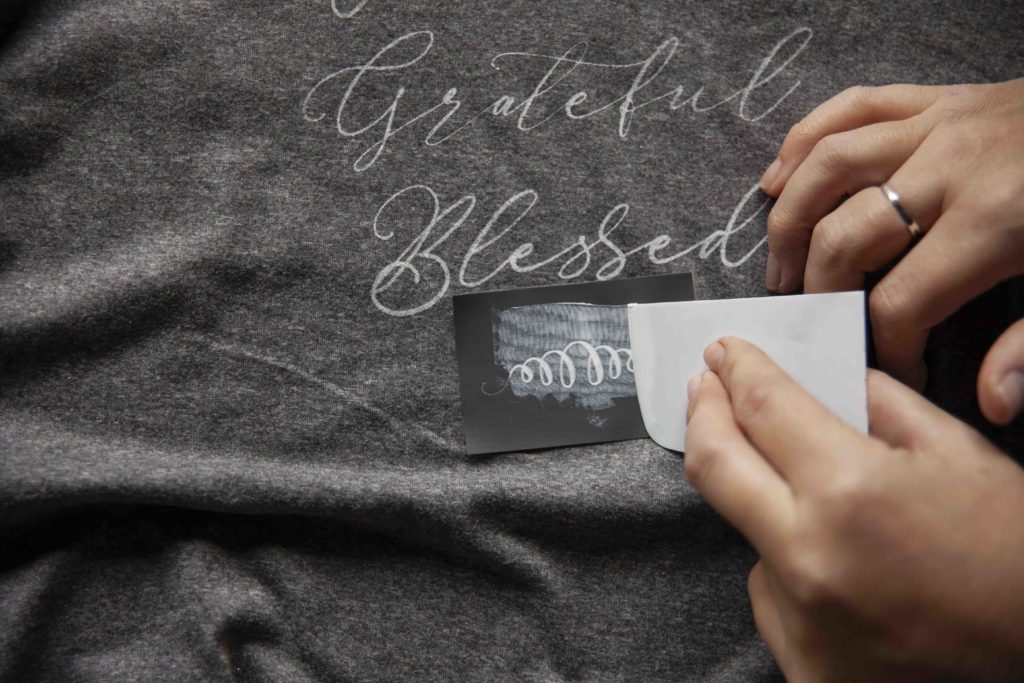
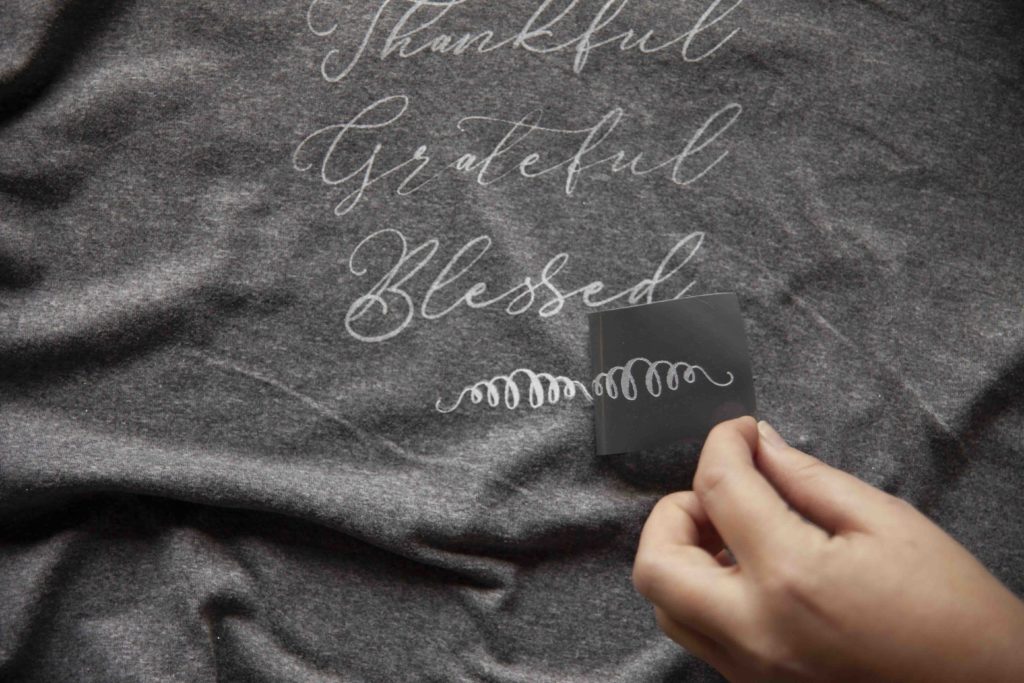
5. Repeat steps 2-4 for the “Thankful” and “Blessed” parts of the stencil. Optional: add one of the curly-cue designs underneath your “Blessed” stencil design to finish the look.
6. Allow your shirt to dry for 2-3 hours, then press the design with a warm iron to set the ink. To protect your design from heat while setting it, place a clean towel between the iron and your t-shirt.
Ready to feel the good vibes from this DIY T-shirt? You can in just a few short hours! We want to see how your Thankful, Grateful, Blessed T-shirt looks once it’s done! Tag @amakersstudio on Instagram and use #enjoythebraggingrights to make sure we (and your community of fellow Makers) can see your beautiful work!
