

At A Makers’ Studio, we believe in creating DIY projects that use tools and accessories you can use over and over again, which is why we love stencils and stamps. Stencils and stamps are some of the most enjoyable — and easiest — ways to create DIY décor for your home or to make beautiful, handmade gifts.
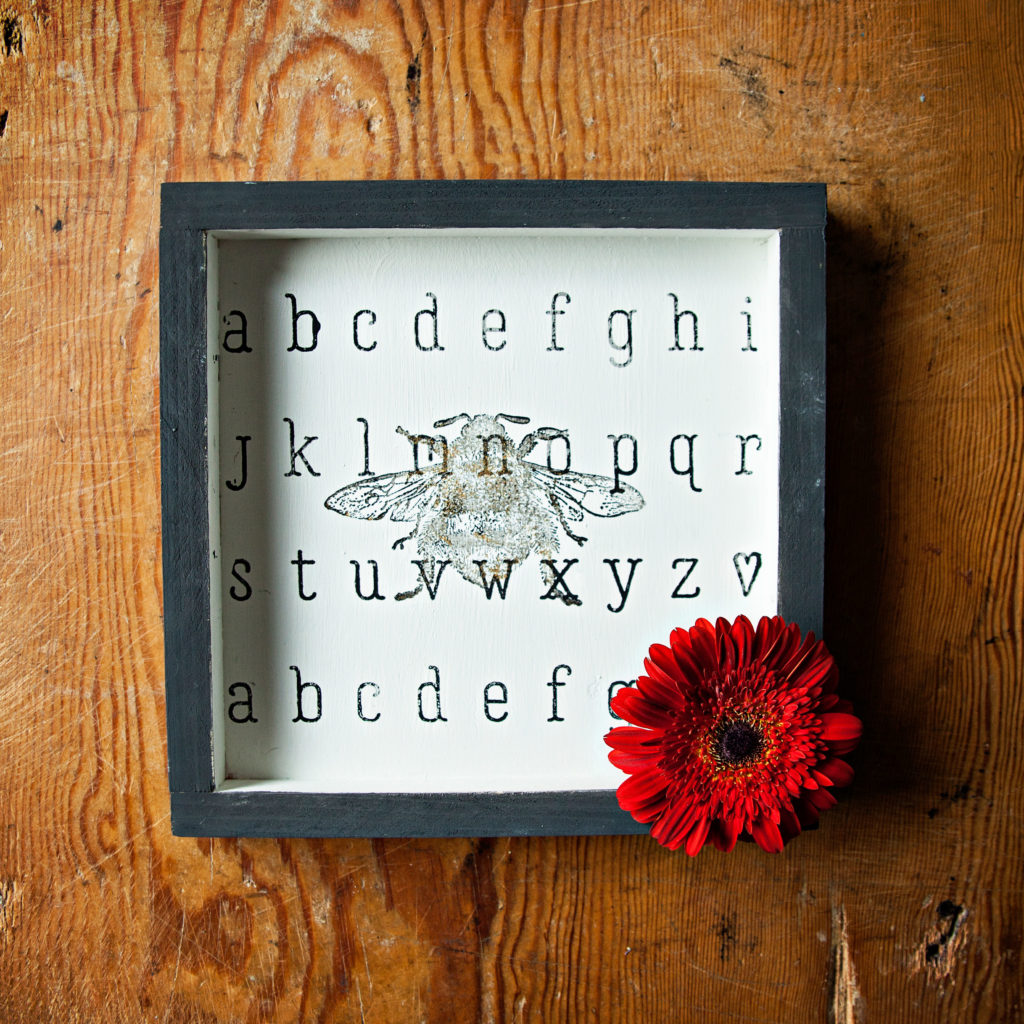
Because we can’t get enough of our fun alphabet stencils and bee stamps, we put together this adorable wall art project just for you!
What you’ll need to make your own Alphabet & Bee Wall Art

- A 10×10 surface with frame, like a rescued picture frame or a tray
- Blessed Rescue Restore Paint
- Preaching to the Choir ChalkArt™
- Gold Metallic ChalkArt™
- ChalkArt™ Spreader
- Foam Paint Brush
- Bee Stamp from the Vintage Clear Stamp Set
- Alphabet 4 Stencil
How to make the Alphabet & Bee Wall Art
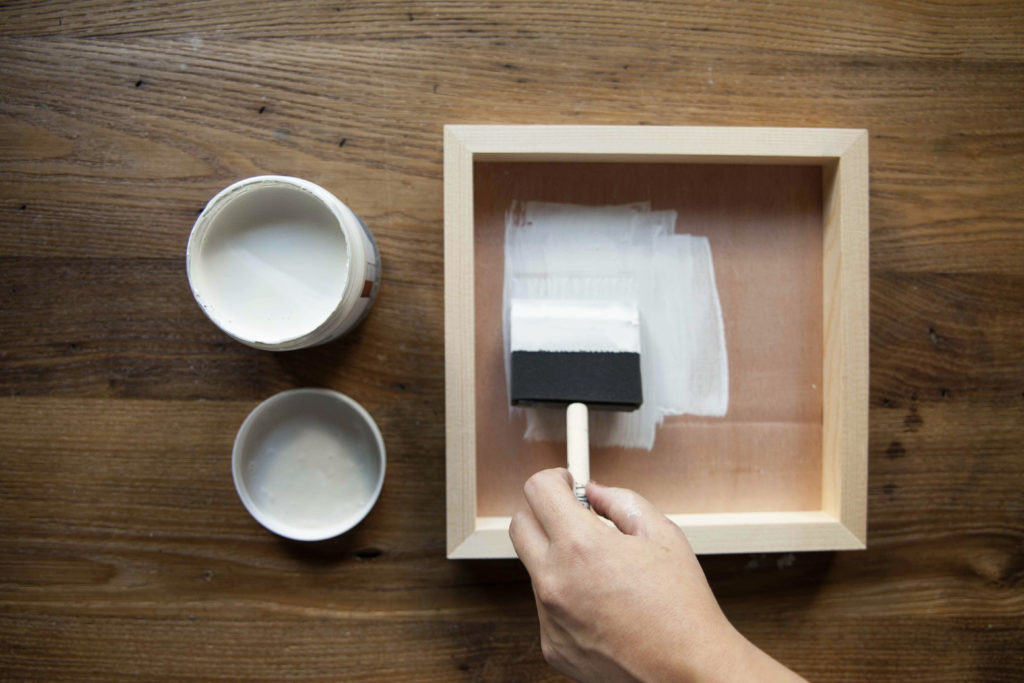
- Paint the entire inside surface in Blessed Rescue Restore Paint with your foam brush. Make sure to cover the surface thoroughly and allow to dry thoroughly before applying a second coat.
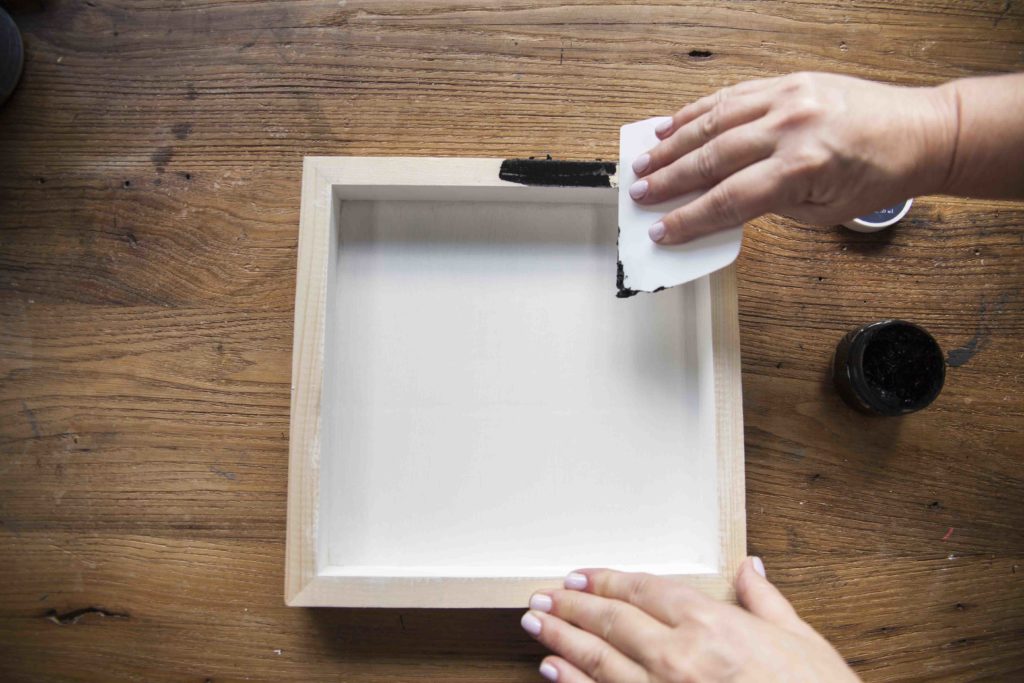
2. Once your paint is fully dried, use the ChalkArt™ Spreader to cover the sides and frame of your surface with Preaching to the Choir ChalkArt™.
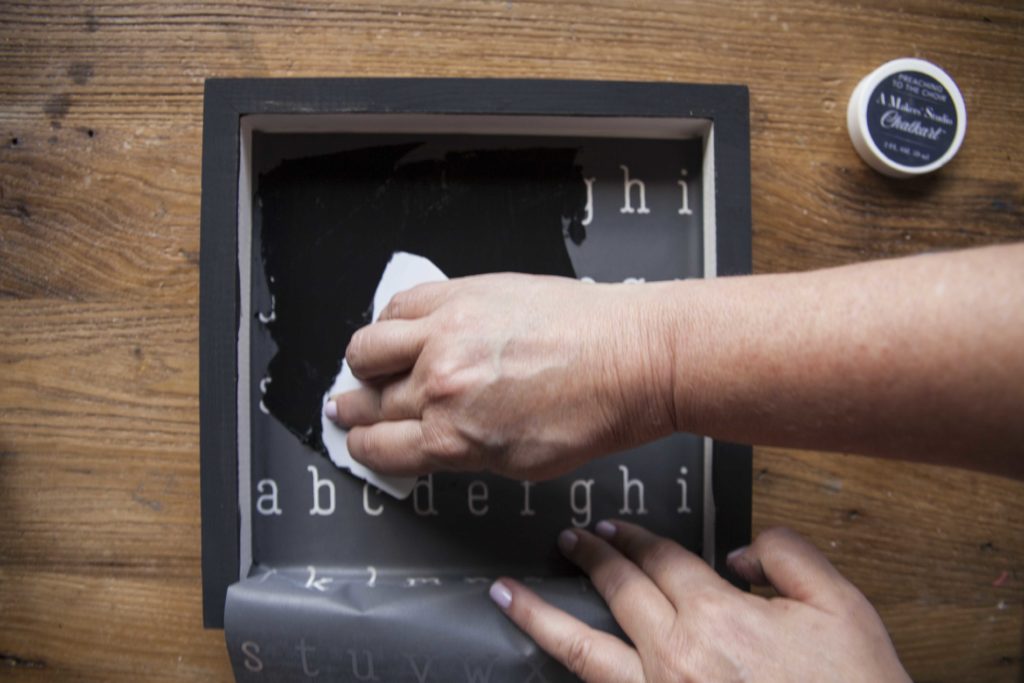
3. Lay down the Alphabet 4 Stencil inside the surface and make sure it doesn’t move. Then, with the ChalkArt™ Spreader, use Preaching to the Choir ChalkArt™ to stencil the letters onto the surface. Remove the stencil carefully and make sure to wash it in warm, soapy water.
4. Wait for the surface’s stenciled letters to dry thoroughly. This can take up to 15 minutes.

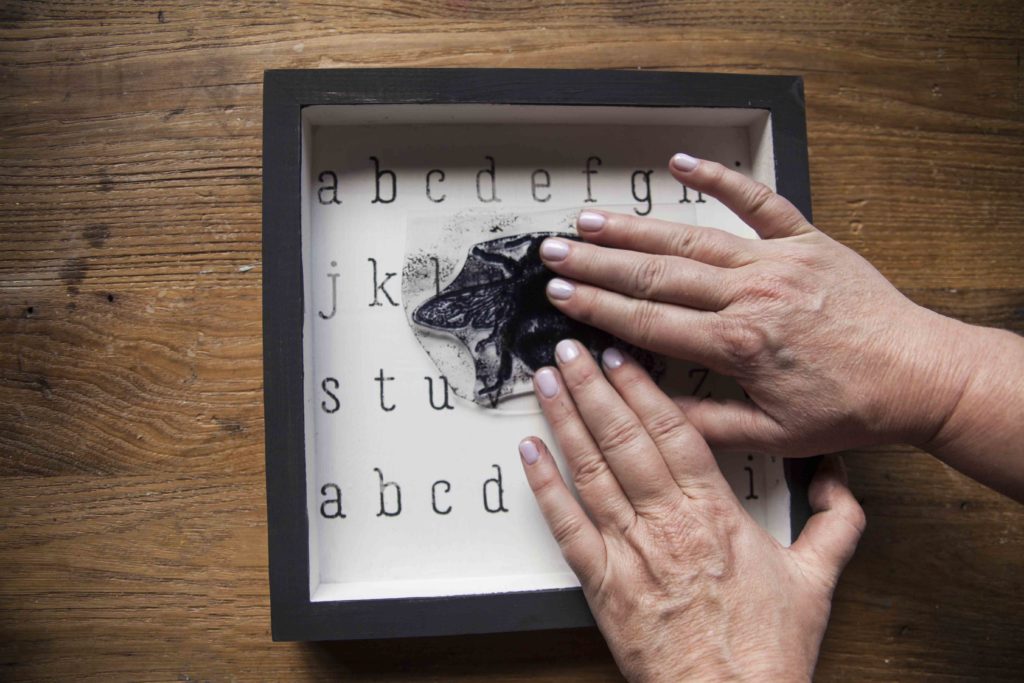
5. Once the stenciled letters are dry, apply Preaching to the Choir ChalkArt™ paint to the Bee Stamp. Carefully stamp the center of the surface, pressing down but not shifting weight. Remove the stamp carefully and then wash it with warm, soapy water.
6. Dry the Bee Stamp after washing, and let the stamped paint on your surface dry. This can take up to 15 minutes.
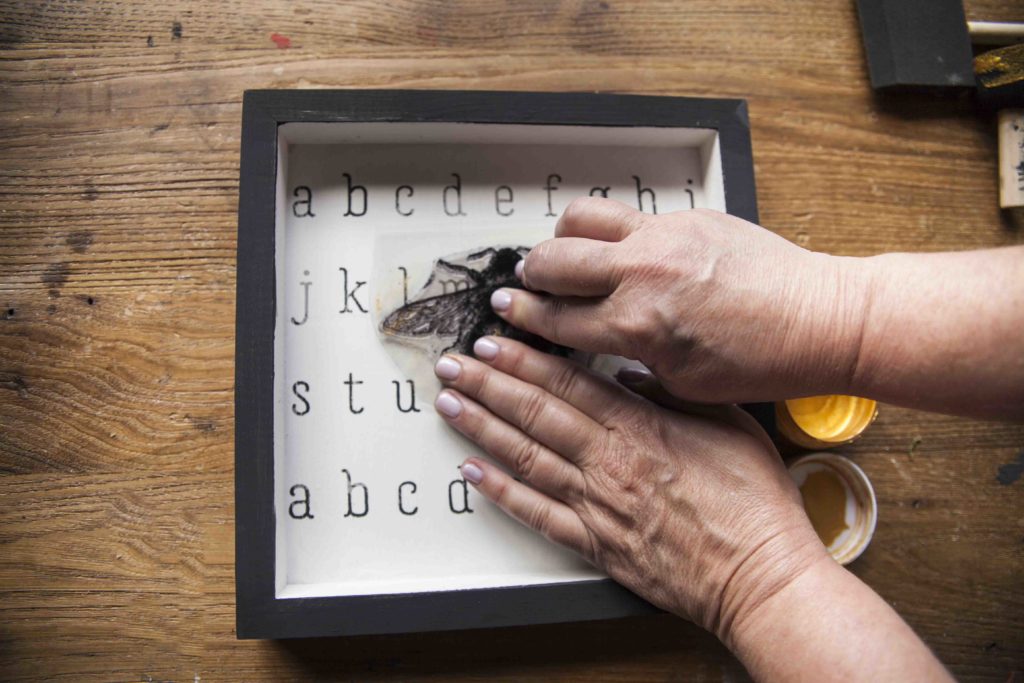
7. Then, repeat Step #4, but this time using the Gold Metallic ChalkArt™. Apply a layer of the gold ChalkArt to the stamp and then lay it directly on top of the existing bee stamp. It will not line up perfectly, and that is okay! Press firmly and then remove the stamp gently. Wash the stamp again and let your painted surface dry.
8. Enjoy your beautiful stamped and stenciled piece! All together, this project should take about 40 minutes — including dry time!
Do you love this cute little project as much as we do? Share it with us! Tag @amakersstudio on Instagram and use #enjoythebraggingrights to make sure we (and your community of fellow Makers) can see your beautiful work!
