


Your home is a space you want your loved ones to gather. What better way to reflect that than to create your very own “Gather” artwork? This simple striped “Gather” sign is the perfect creative outlet to make for your own home or for a handmade gift. You can complete this project in just 5 simple steps and with only a handful of items from your DIY pantry.
Materials You’ll Need

- 18 x 18 wooden board
- Sunday Nap Rescue Restore Paint
- Grateful Stencil
- Sponge Brush
- ChalkArt™ Spreader
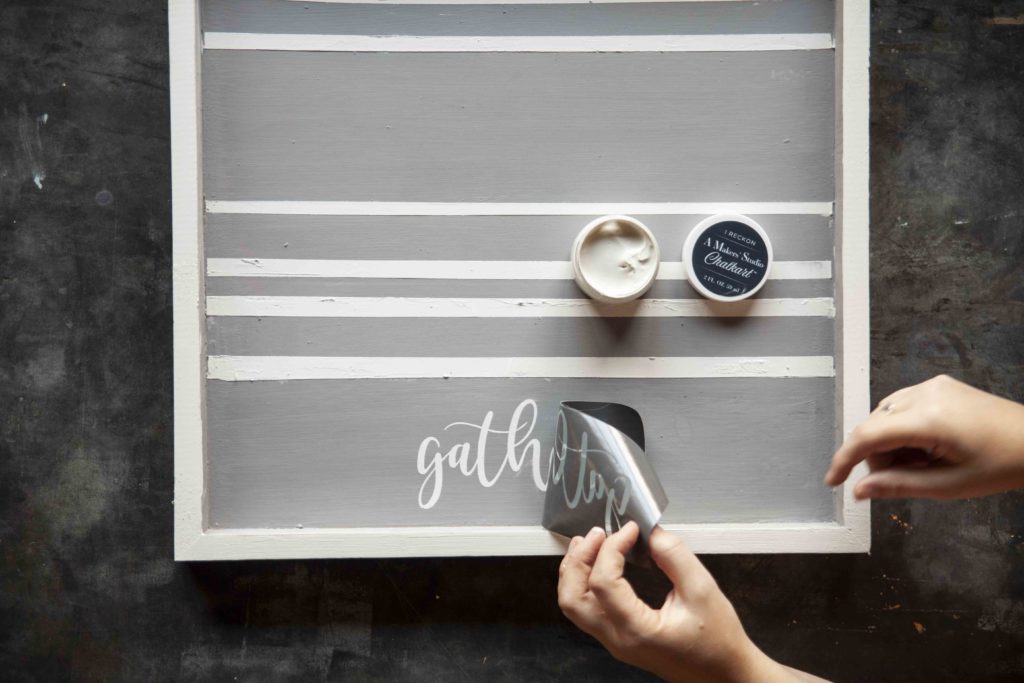
- I Reckon ChalkArt™
You will also need painter’s tape.
How to Make Your “Gather” Sign
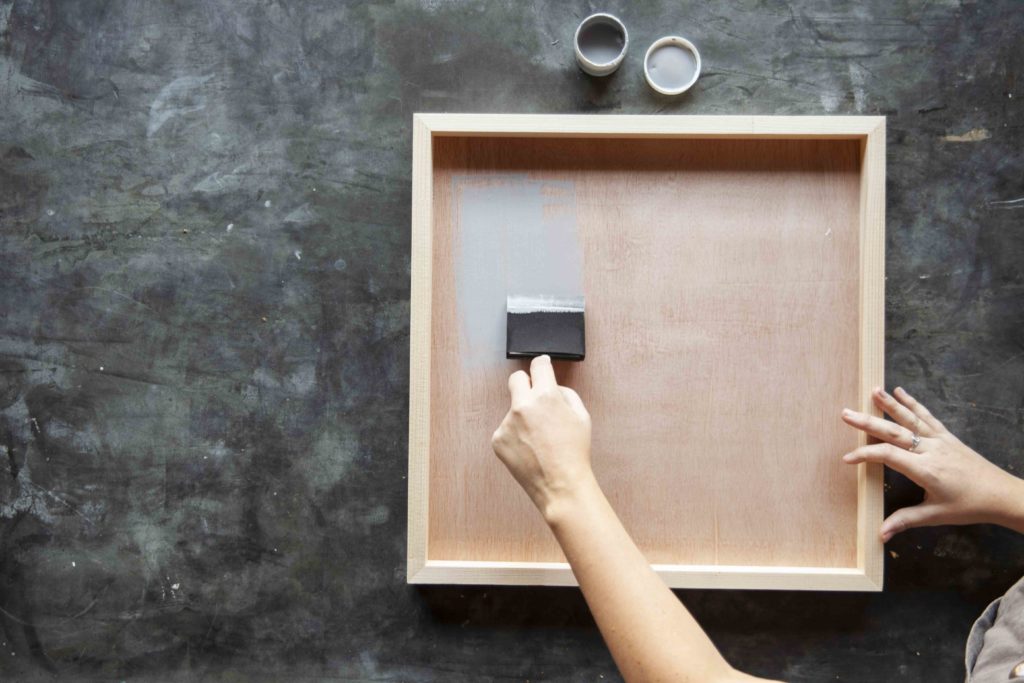
- Paint the inside of your wooden board with Sunday Nap Rescue Restore Paint using your sponge brush. Let it dry entirely before moving on to the next step.
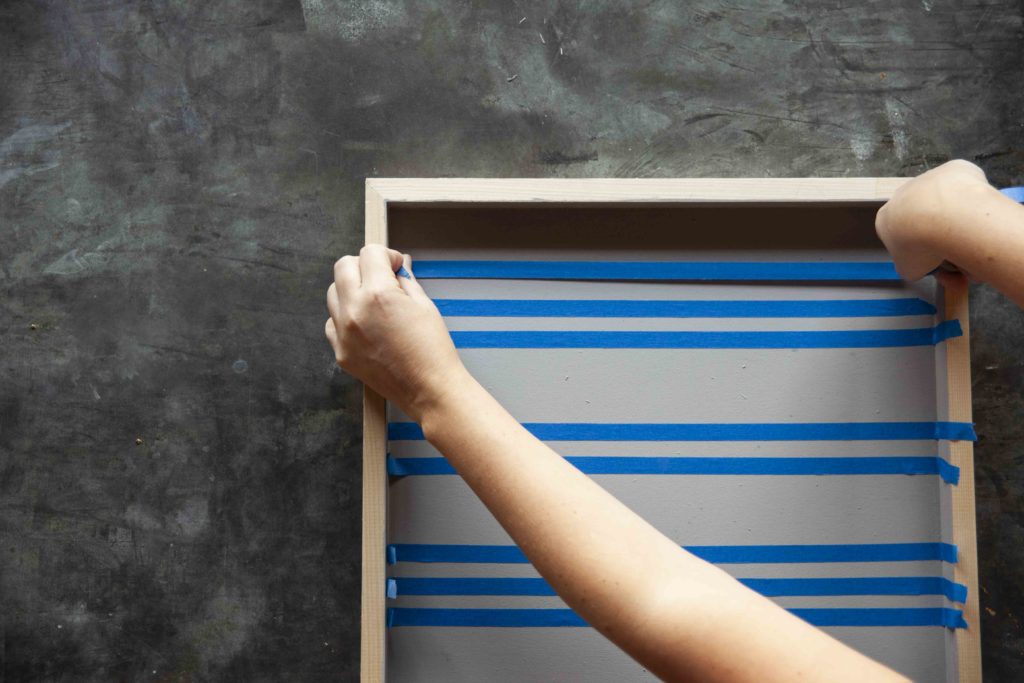
2. Tape off stripes using painters tape. Make sure to measure if you want even stripes!
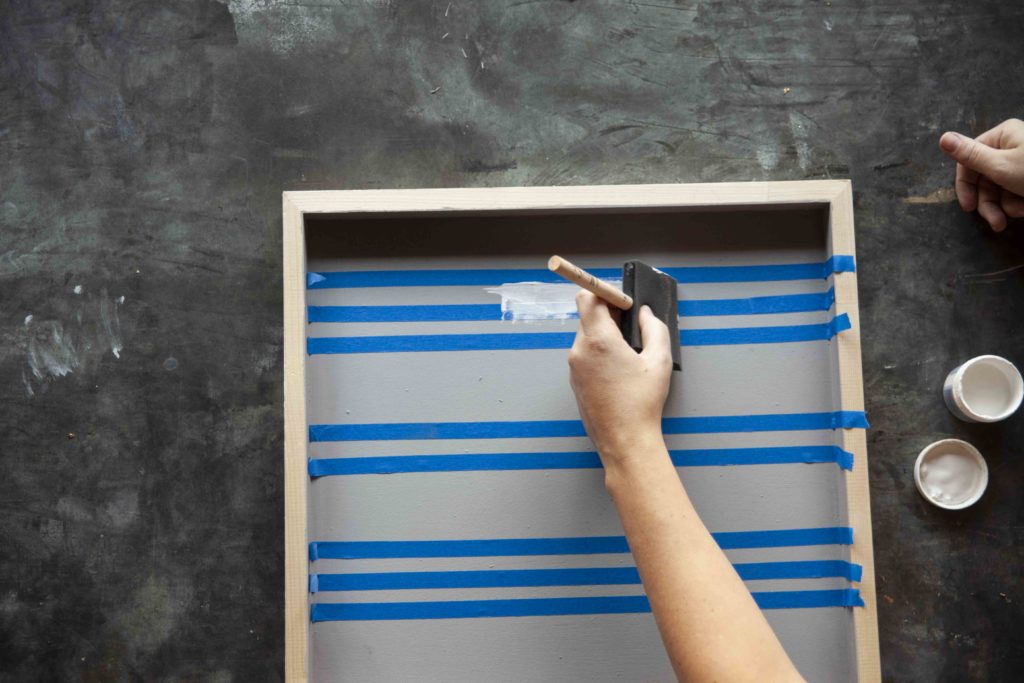
3. Apply I Reckon ChalkArt™ to the taped off stripes using your foam brush.
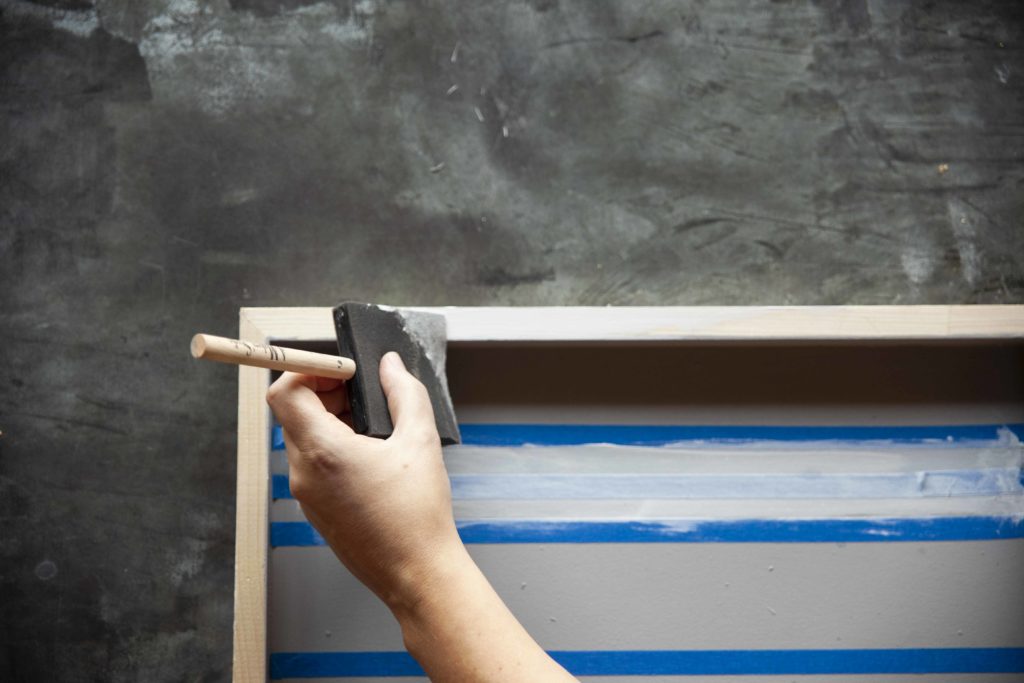
4. Apply I Reckon ChalkArt™ to the edges of the frame. Let all ChalkArt™ dry.
5. Lay the “Gather” part of your stencil to the bottom of the board and apply I Reckon ChalkArt™ with the spreader. Let it dry fully, washing and drying your stencil while you wait.
Once everything is dry, remove the painters tape and decide where to display our lovely art. You can add a seasonal wreath or other hanging decor to make your piece even more unique to you. Tag @amakersstudio on Instagram and use #enjoythebraggingrights to make sure we (and your community of fellow Makers) can see your beautifully handcrafted message.
